Date: Yesterday at 10:01pm
I went ahead and made you a tutorial of how I make my Pots. So here we go in the mind of a Madman!!!! Hope this helps!!!! This Fairly long!!!!!
God Bless,
Mark
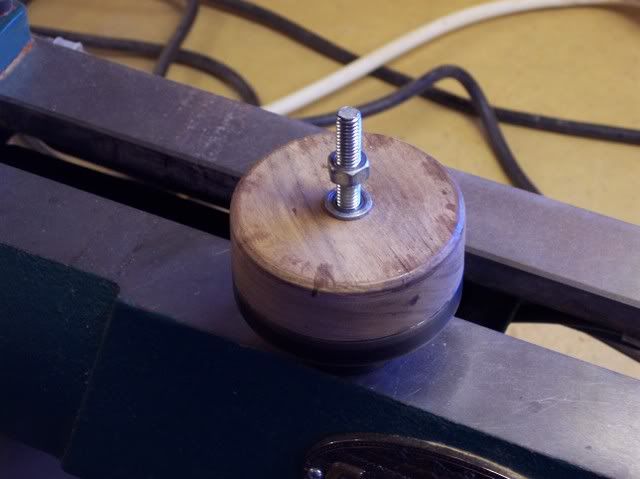
Is the chuck I use.
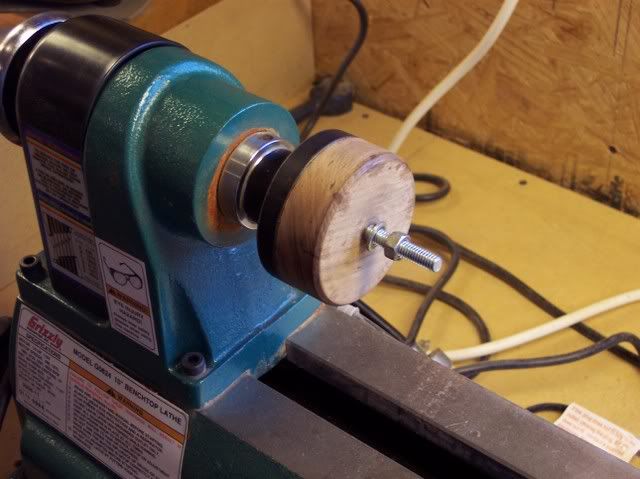
Here it is on the lathe.
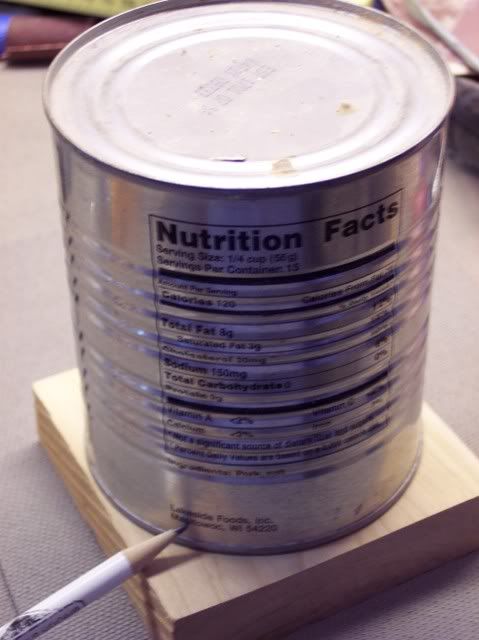
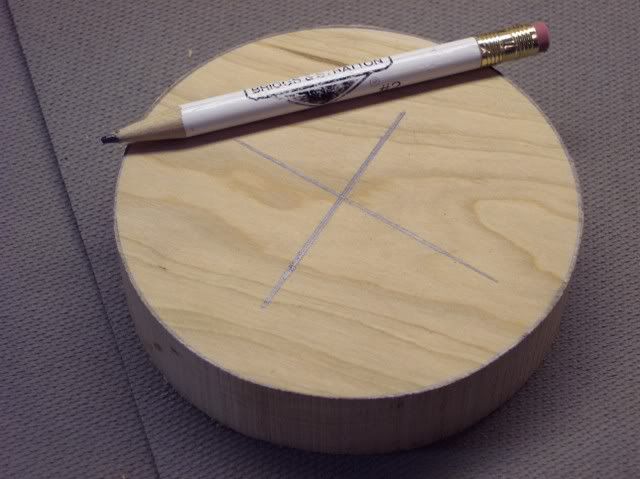
The can I use to trace my 4 inch circle.

Here the circle on the blank, I like a blank 4 inchs or just a hair bigger.
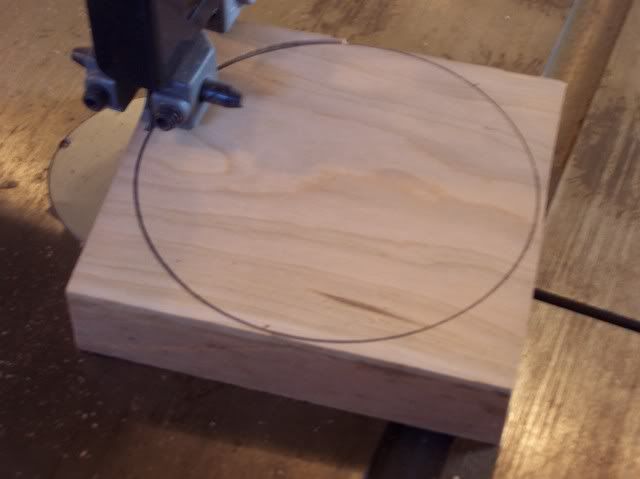
Cutting it out on the bandsaw.
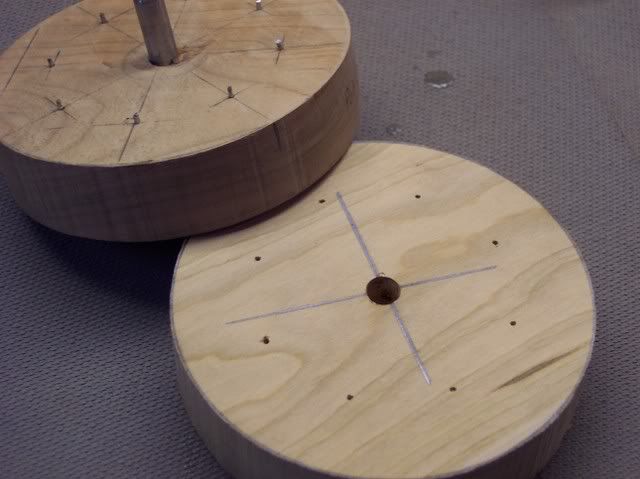
This the gauge I use to get center of the circle, I got this at woodcrafter for $8.00
here is center of the circle.
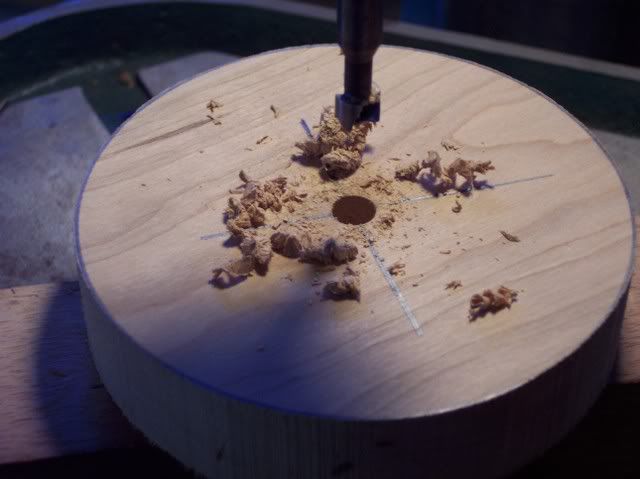
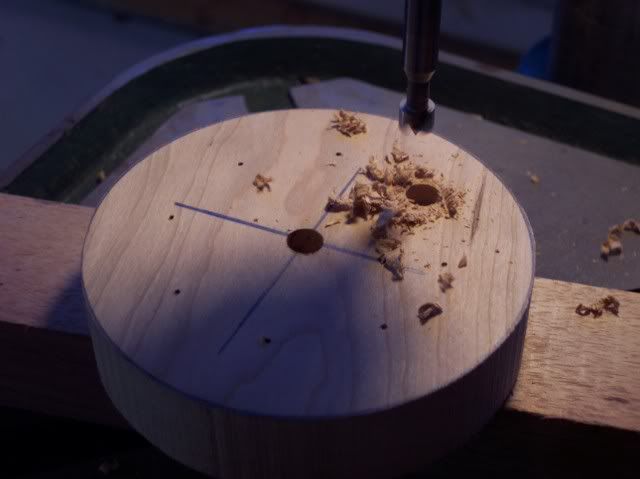
here I am drilling a 5/16 hole all the way thru the blank.
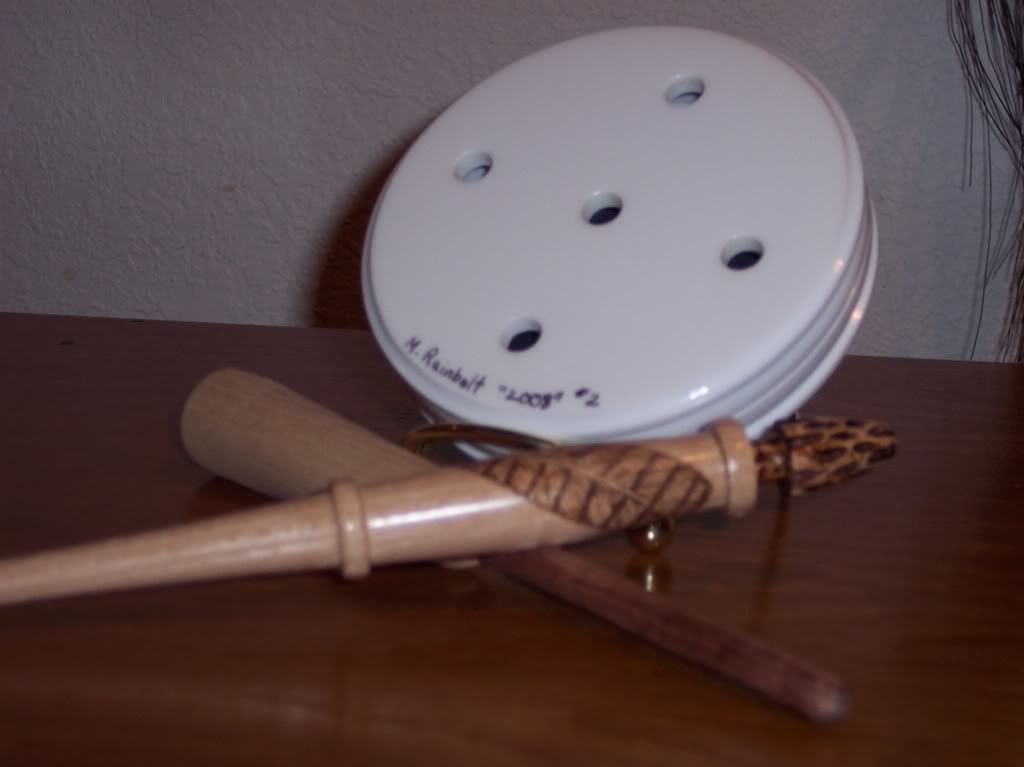
Here is the jig I use to get my hole pattern on the bottom of the pot. I sand the bottom flat on the beltsander first.
put the jig on the blank and use a hammer around the jig body LIGHTLY TAPPING the jig bodyto put the dimples in the blank.
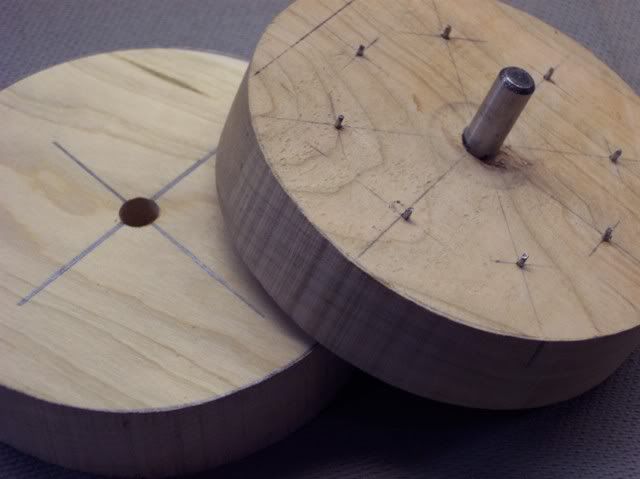
Here is what the blank looks like with the dimples.
here I am drilling the sound holes in the blank, I drill about 1/8 inch past the forstner head of the bit. NOT ALL THE WAY THRU!!!
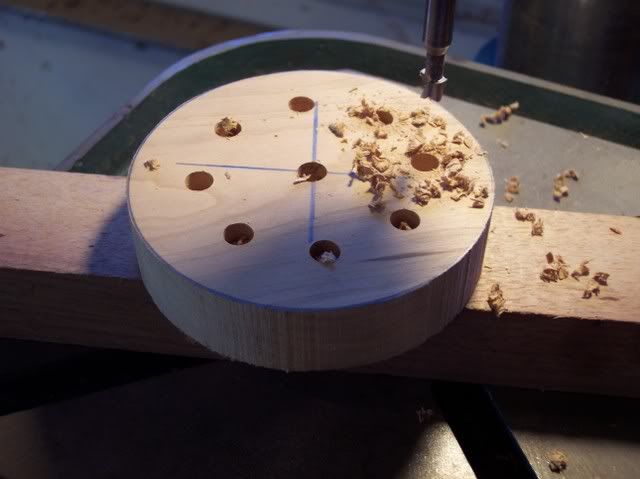
here is what it looks like when I am done drilling.
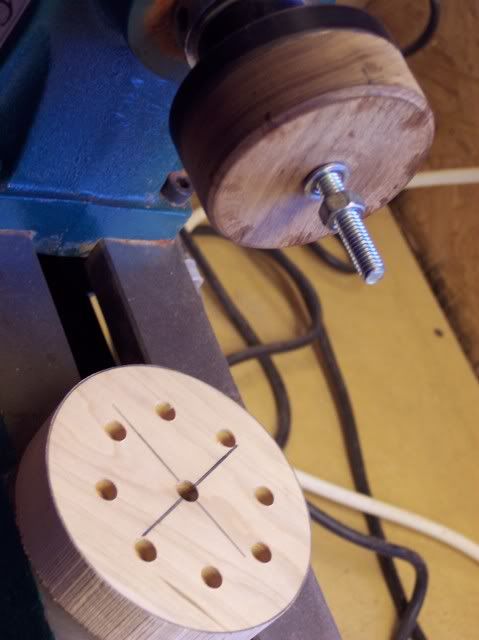
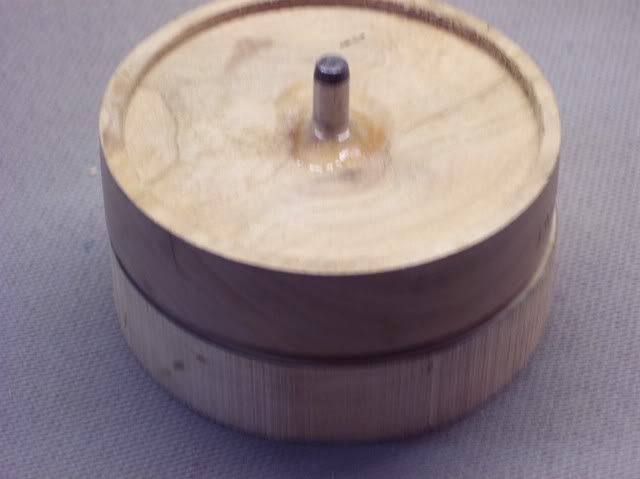
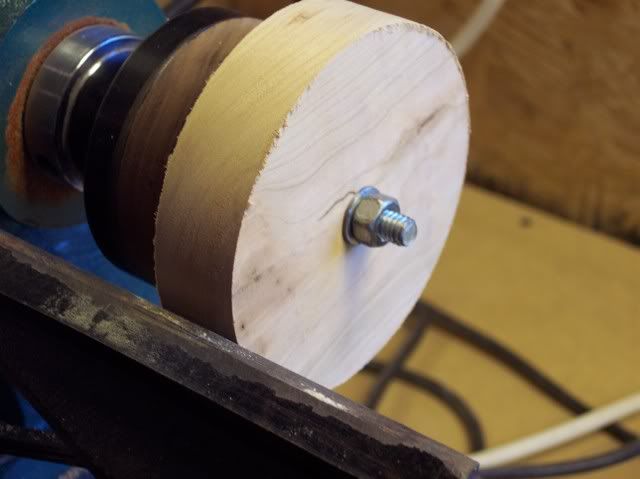
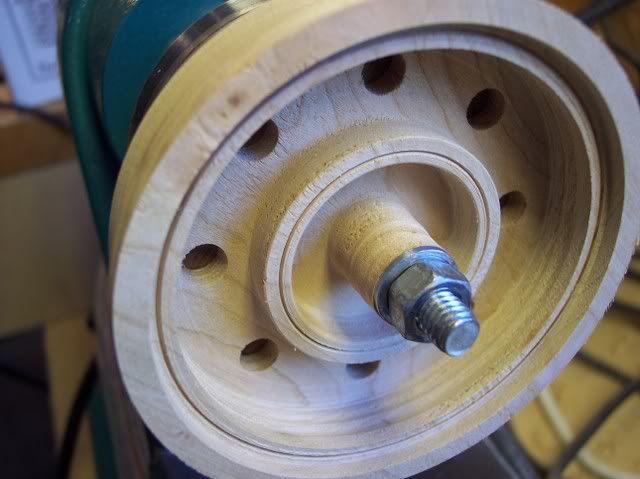
Getting ready to put the blank on the chuck.
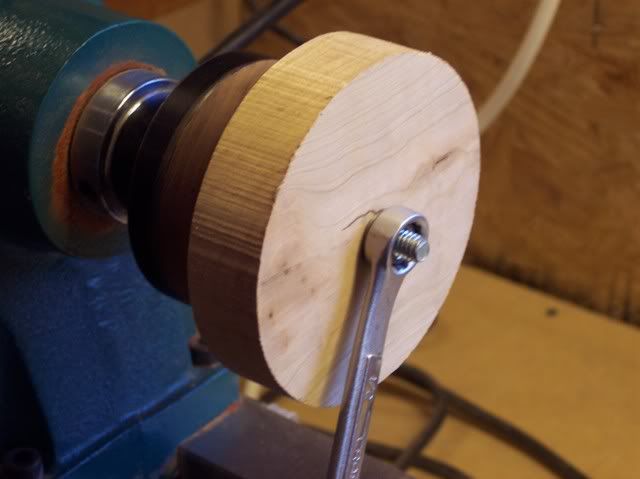
I tighten it very tight, have broken a few from over tighting but it has to be tight so it does not slip while running!!!
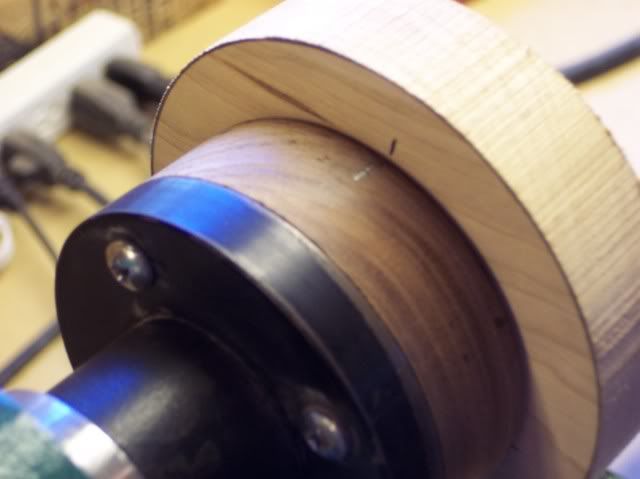
I have a pencil mark on the chuck and one on the pot that I line up in case I do get some slipping. That way I can put it back to center.
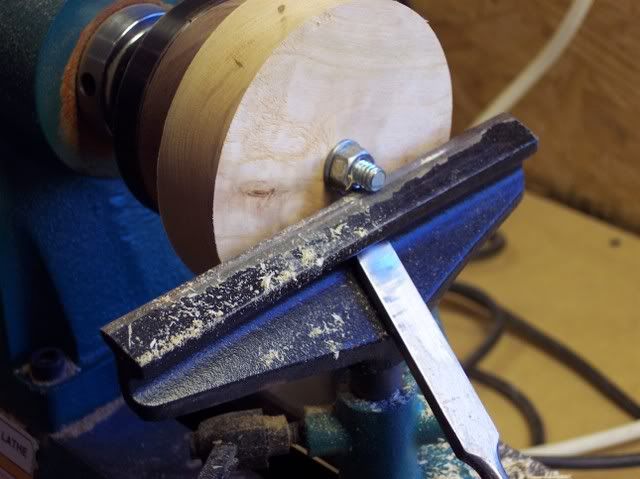
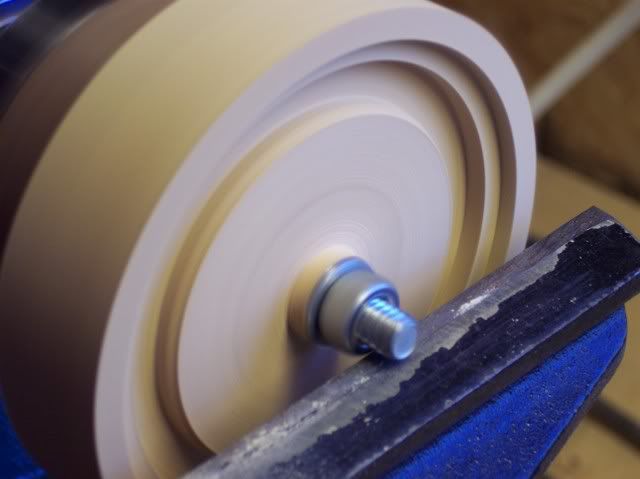
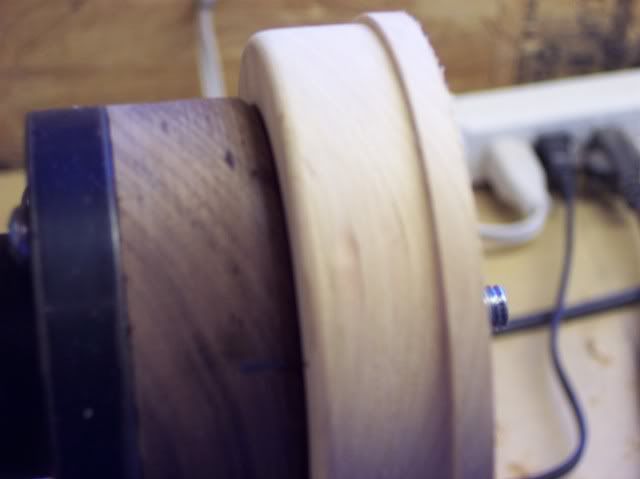
I true up the outside of the pot, to get all the saw marks out and to make it perfectly round.
Now i true up the face of the pot and make it the thickness that I want. I like a thicker pot 7/8 to 1 inch is what I like. Thinner pots just do not have the sound I like.
Now I am turning the inside ID for the slate to sit on the lip, Lip is 3/16 to 1/4 wide
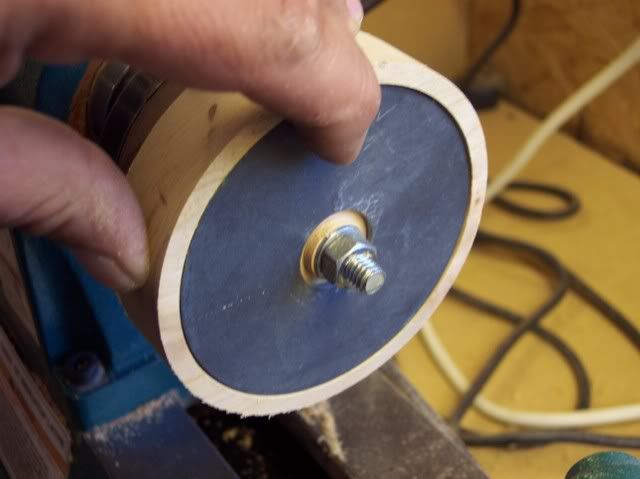
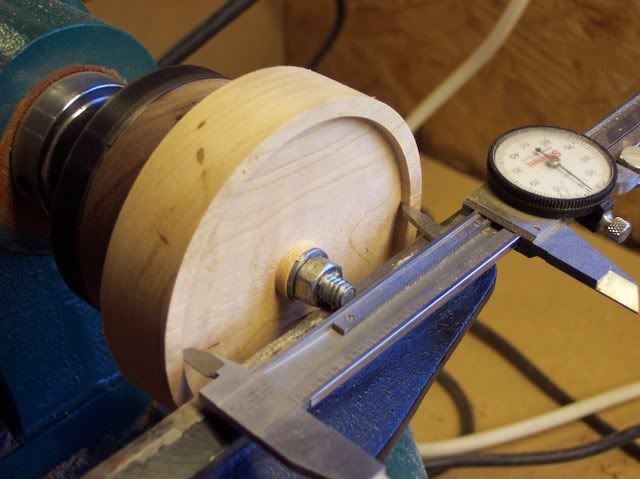
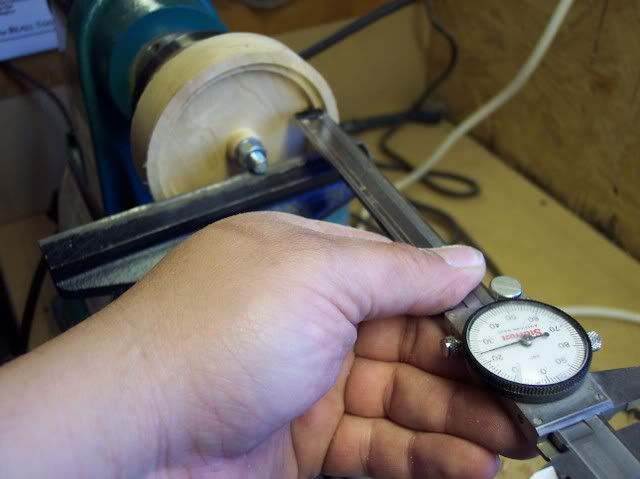
I put my gauge in to make sure I have the depth right. And that there is enough clarence for the slate.
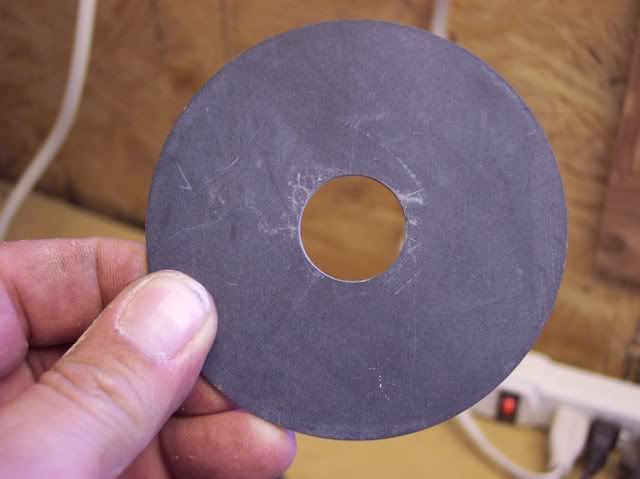
Here is my gauge, I took a slate and drilled a 7/8 hole in the center to slip over the chuck bolt.
Now I am cutting the material away for the depth of pedastal from the lip to the pedastel is .223 thousands of an inch.
checking the depth of the pedestal.
Now I turn to the outside of the pot for shaping. this is my field grade design.
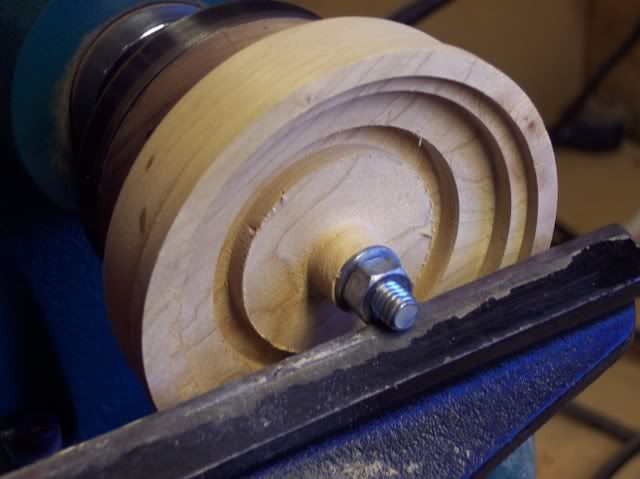
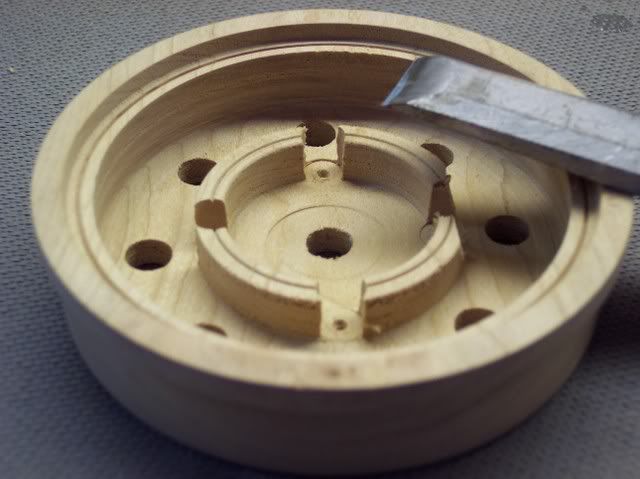
Now back to the inside of the pot to finish.Here I am cutting the pedastal out, take your time at this junction the pedestal is about a 1/4 inch thick.
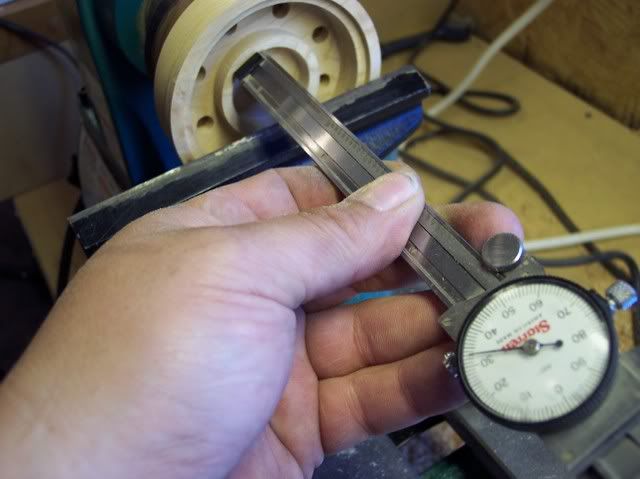
Here I am checking the depth of the pedestal. You want the inside and the outside of the pedestal to be the same thickness. the bottom of the pot you want 3/16 to 1/4 thick I use the caliper's to check depth thru the sound holes for bottom thickness.
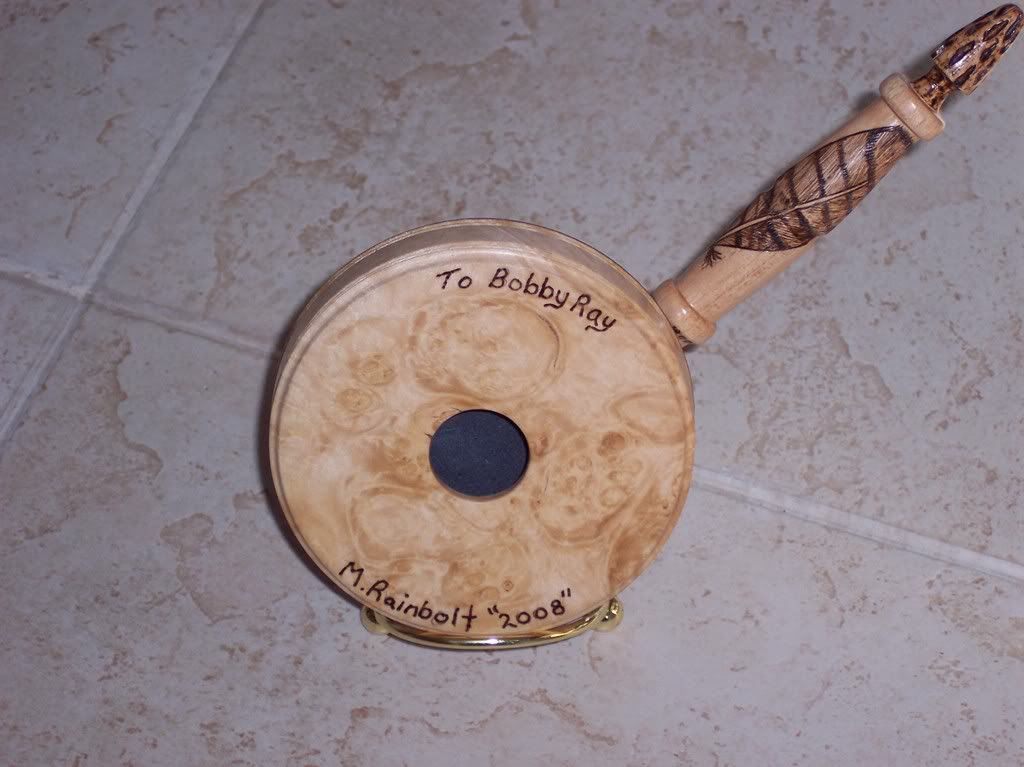
here is a finished pot I do my sanding while it is on the lathe inside and out. 80 grit to 500 grit.
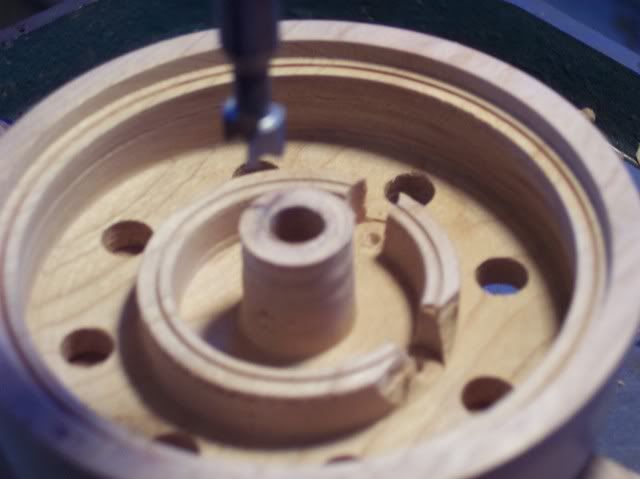
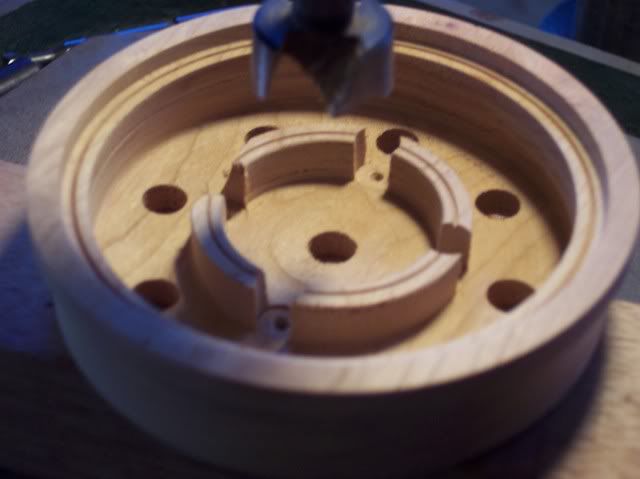
Here I am segmenting the pedestal into fourths. I use the sound holes to line up the cuts. I use a 5/16 drill for this take your time and go slow!!!!!! Or you can blow out the side as i did here but was still useable.
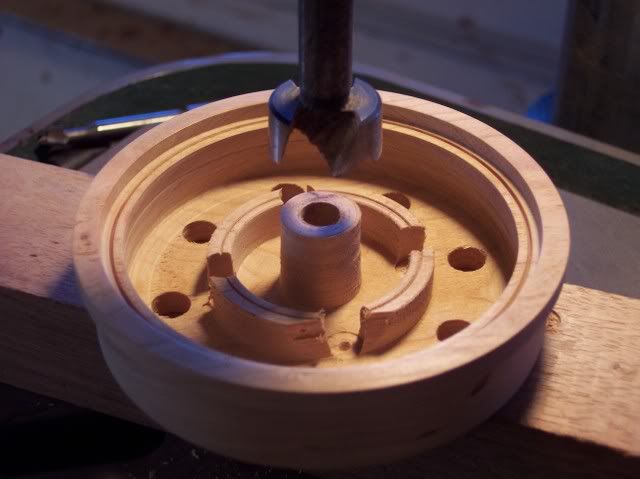
here i use a 7/8 drill to take the center section out
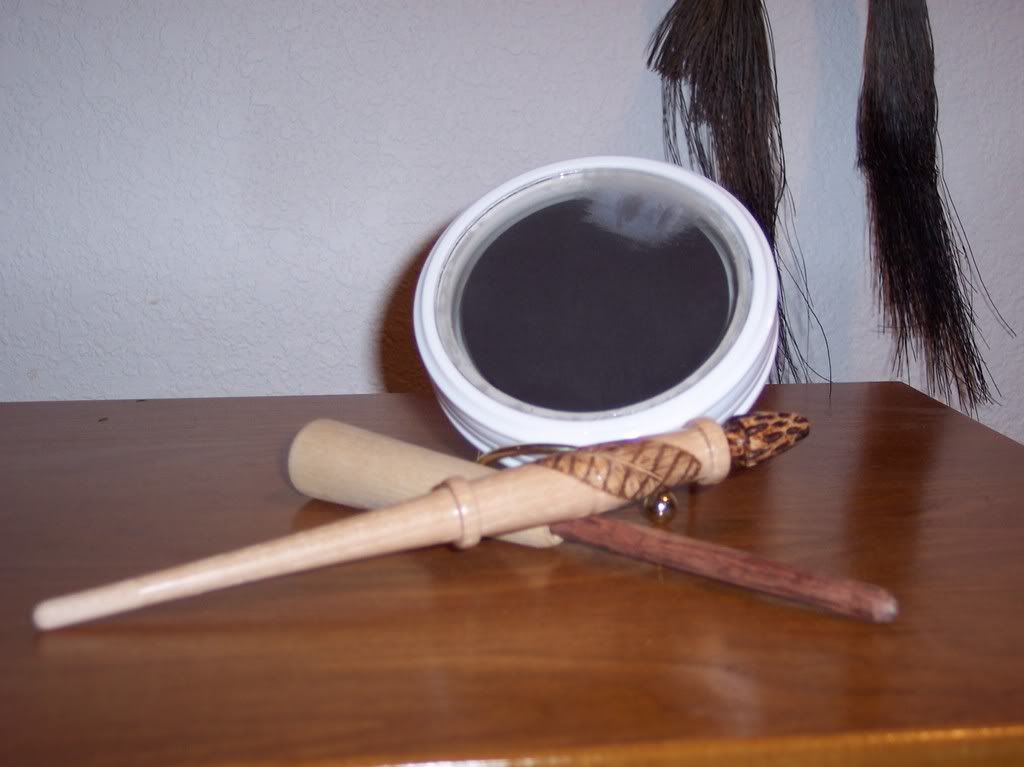
Here are some of the calls I have made in the past.